Telescope Build
Intro
This project is one of my favorite things I’ve built. The telescope isn’t going to win any awards, but building it was a rewarding process that taught me many things:
- How a Newtonian telescope works
- The process of collimating a telescope
- Tricks to improve my 3D printing results
- How to identify notable stars and planets in the night sky
Groundwork
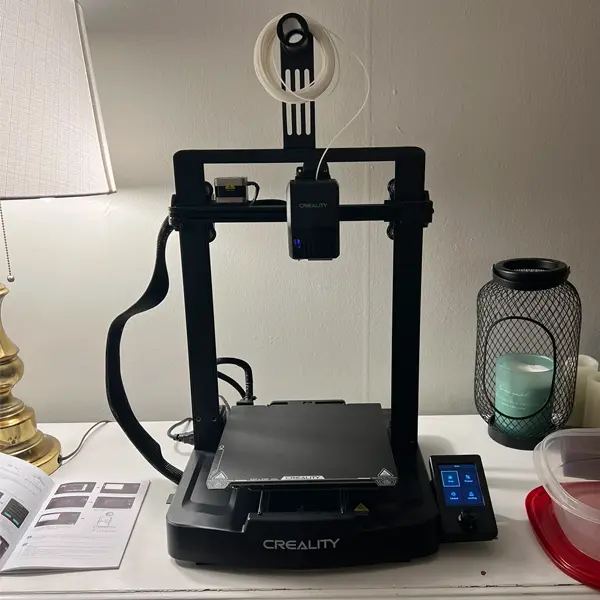
In November 2024, I got a 3D printer during a Black Friday sale: the Creality Ender 3 V3 SE. At the time, I knew nothing about 3D printing, but it seemed like something I would enjoy getting into. The Ender 3 V3 SE is a great first printer because it has auto bed leveling and only takes about 10 minutes to set up.
After a month of messing around with the printer, mostly printing small single item STL files, I decided I wanted to tackle a bigger project. I wanted to make something where I had to print multiple parts that worked together and assemble into something with a purpose.
While researching 3D-printed projects, I discovered the Hadley telescope. Hadley is an open-source, 3D printed telescope that you print and assemble yourself. All the instructions, STL files, and a hardware list are available online for free.
Building
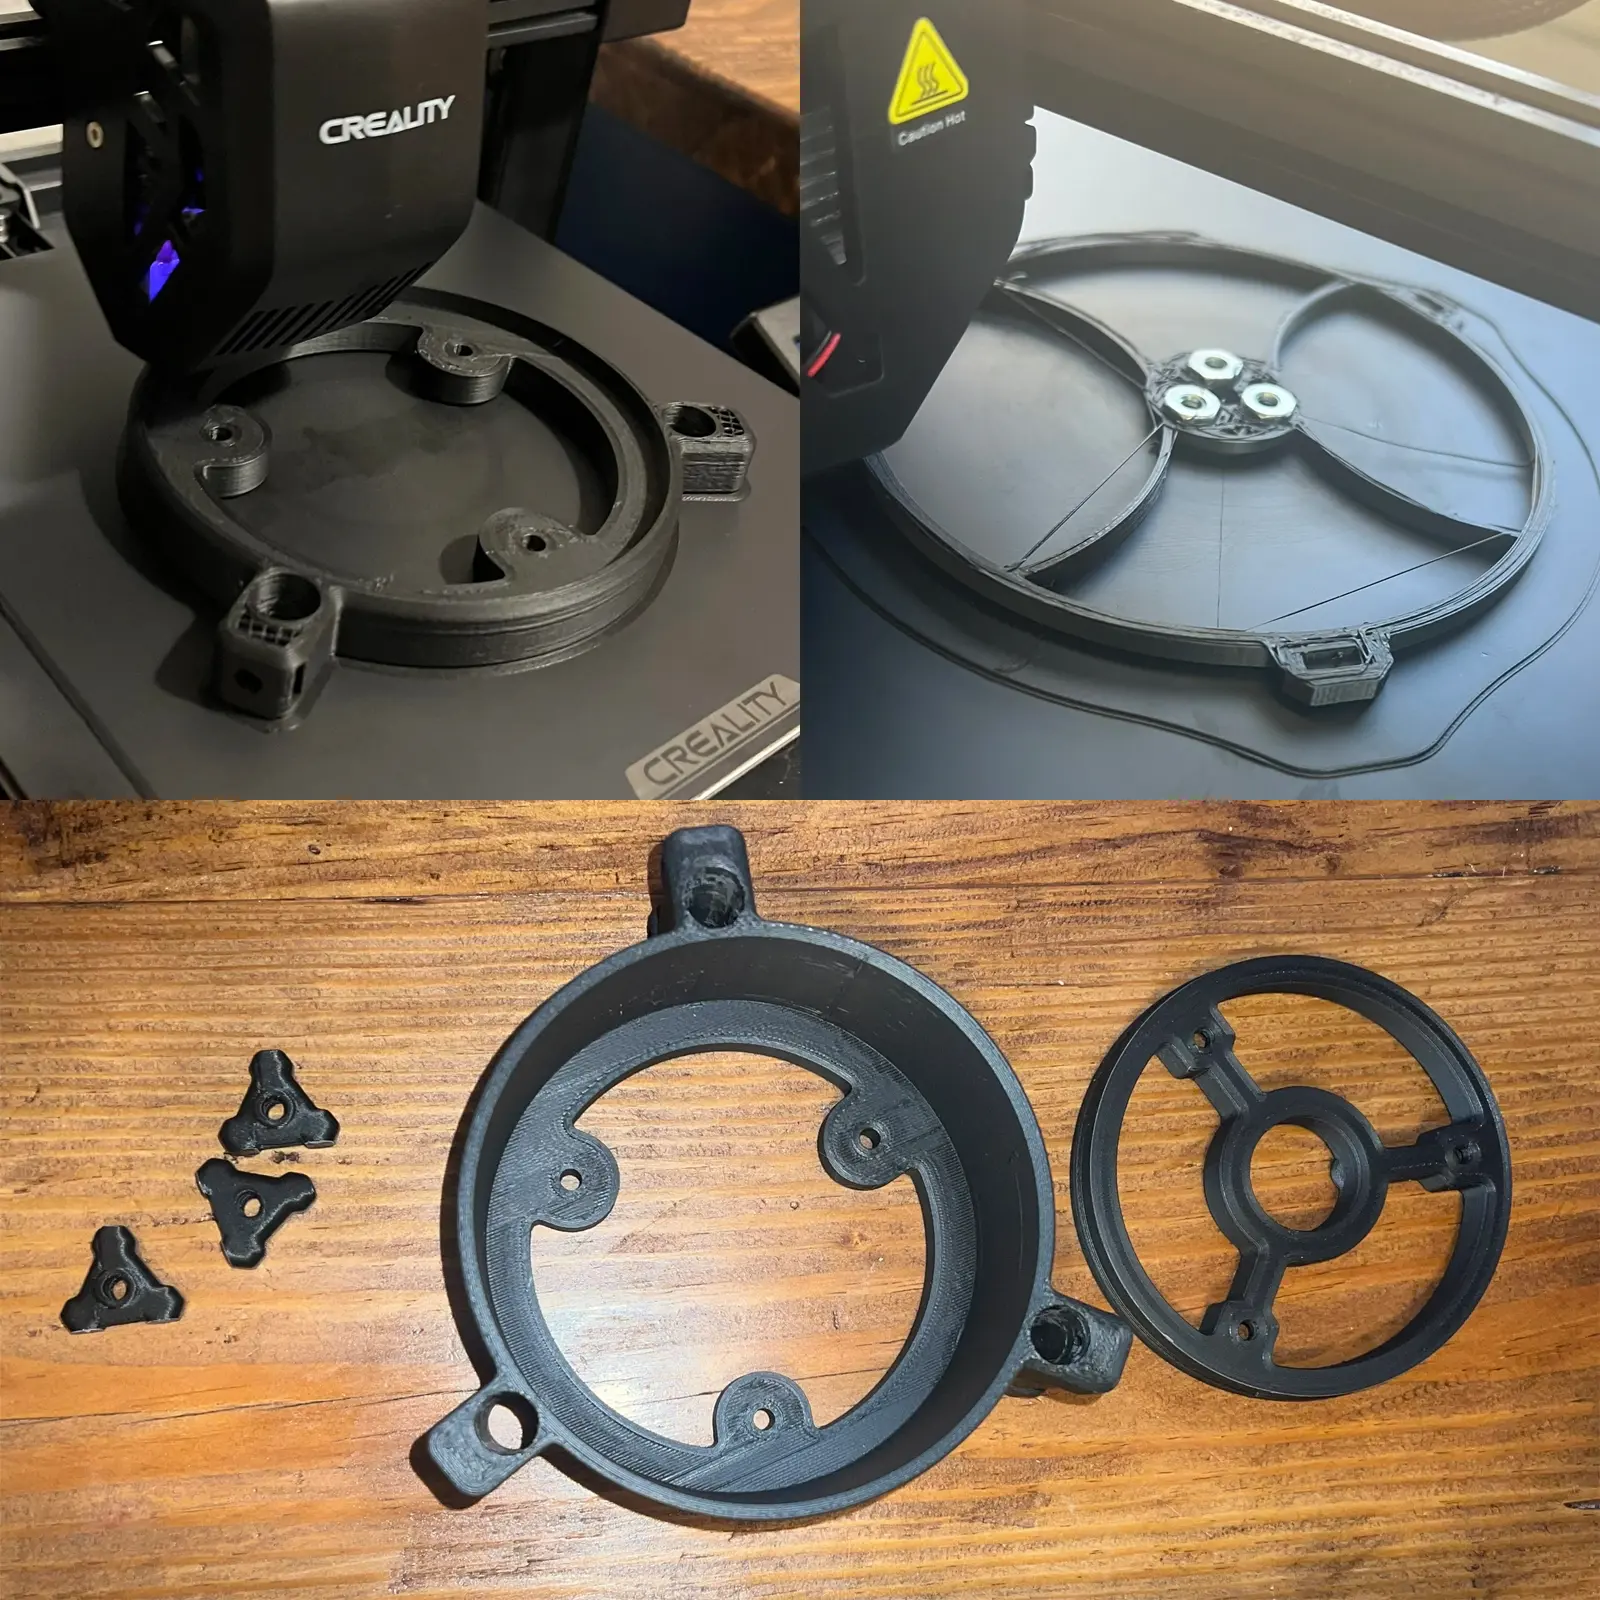
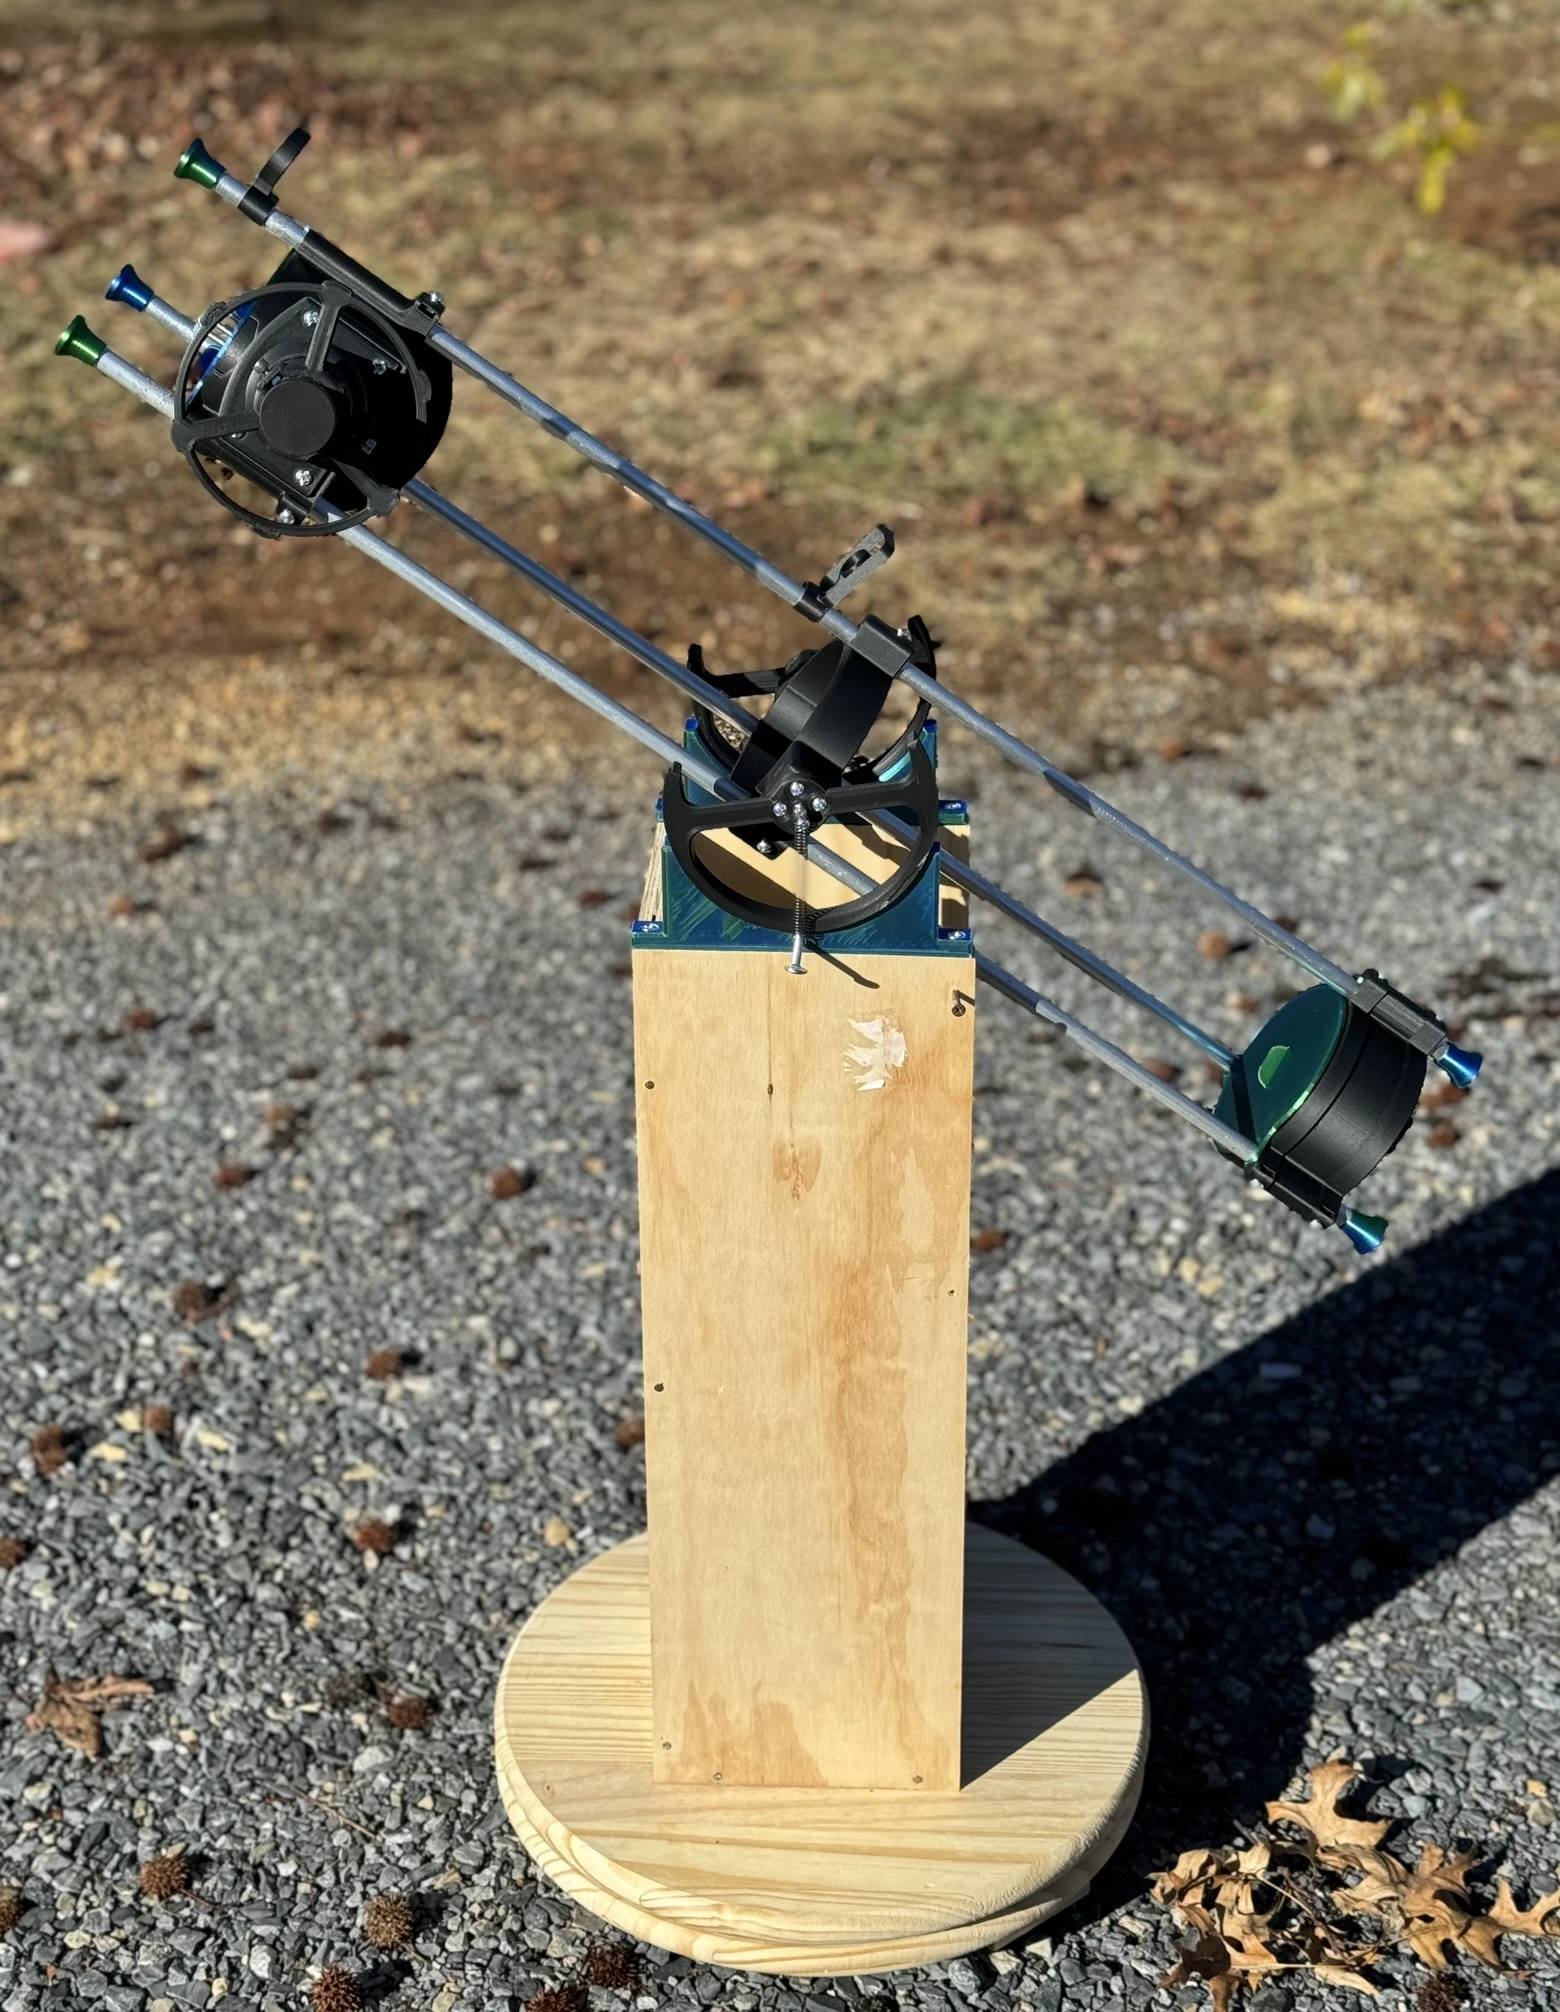
The first step, naturally, is to print everything. There are a lot of files to print. Once I had all the necessary files downloaded, my slicer settings tweaked, and my printer calibrated, I got to work. The smaller parts printed fairly quickly, but many of the larger pieces took several hours. One interesting print required pausing midway, inserting nuts, then resuming so it could print over them. I usually started the bigger prints before bed and let it run overnight. Thankfully, I didn't wake up to any stringy messes, and all of the pieces came out great.
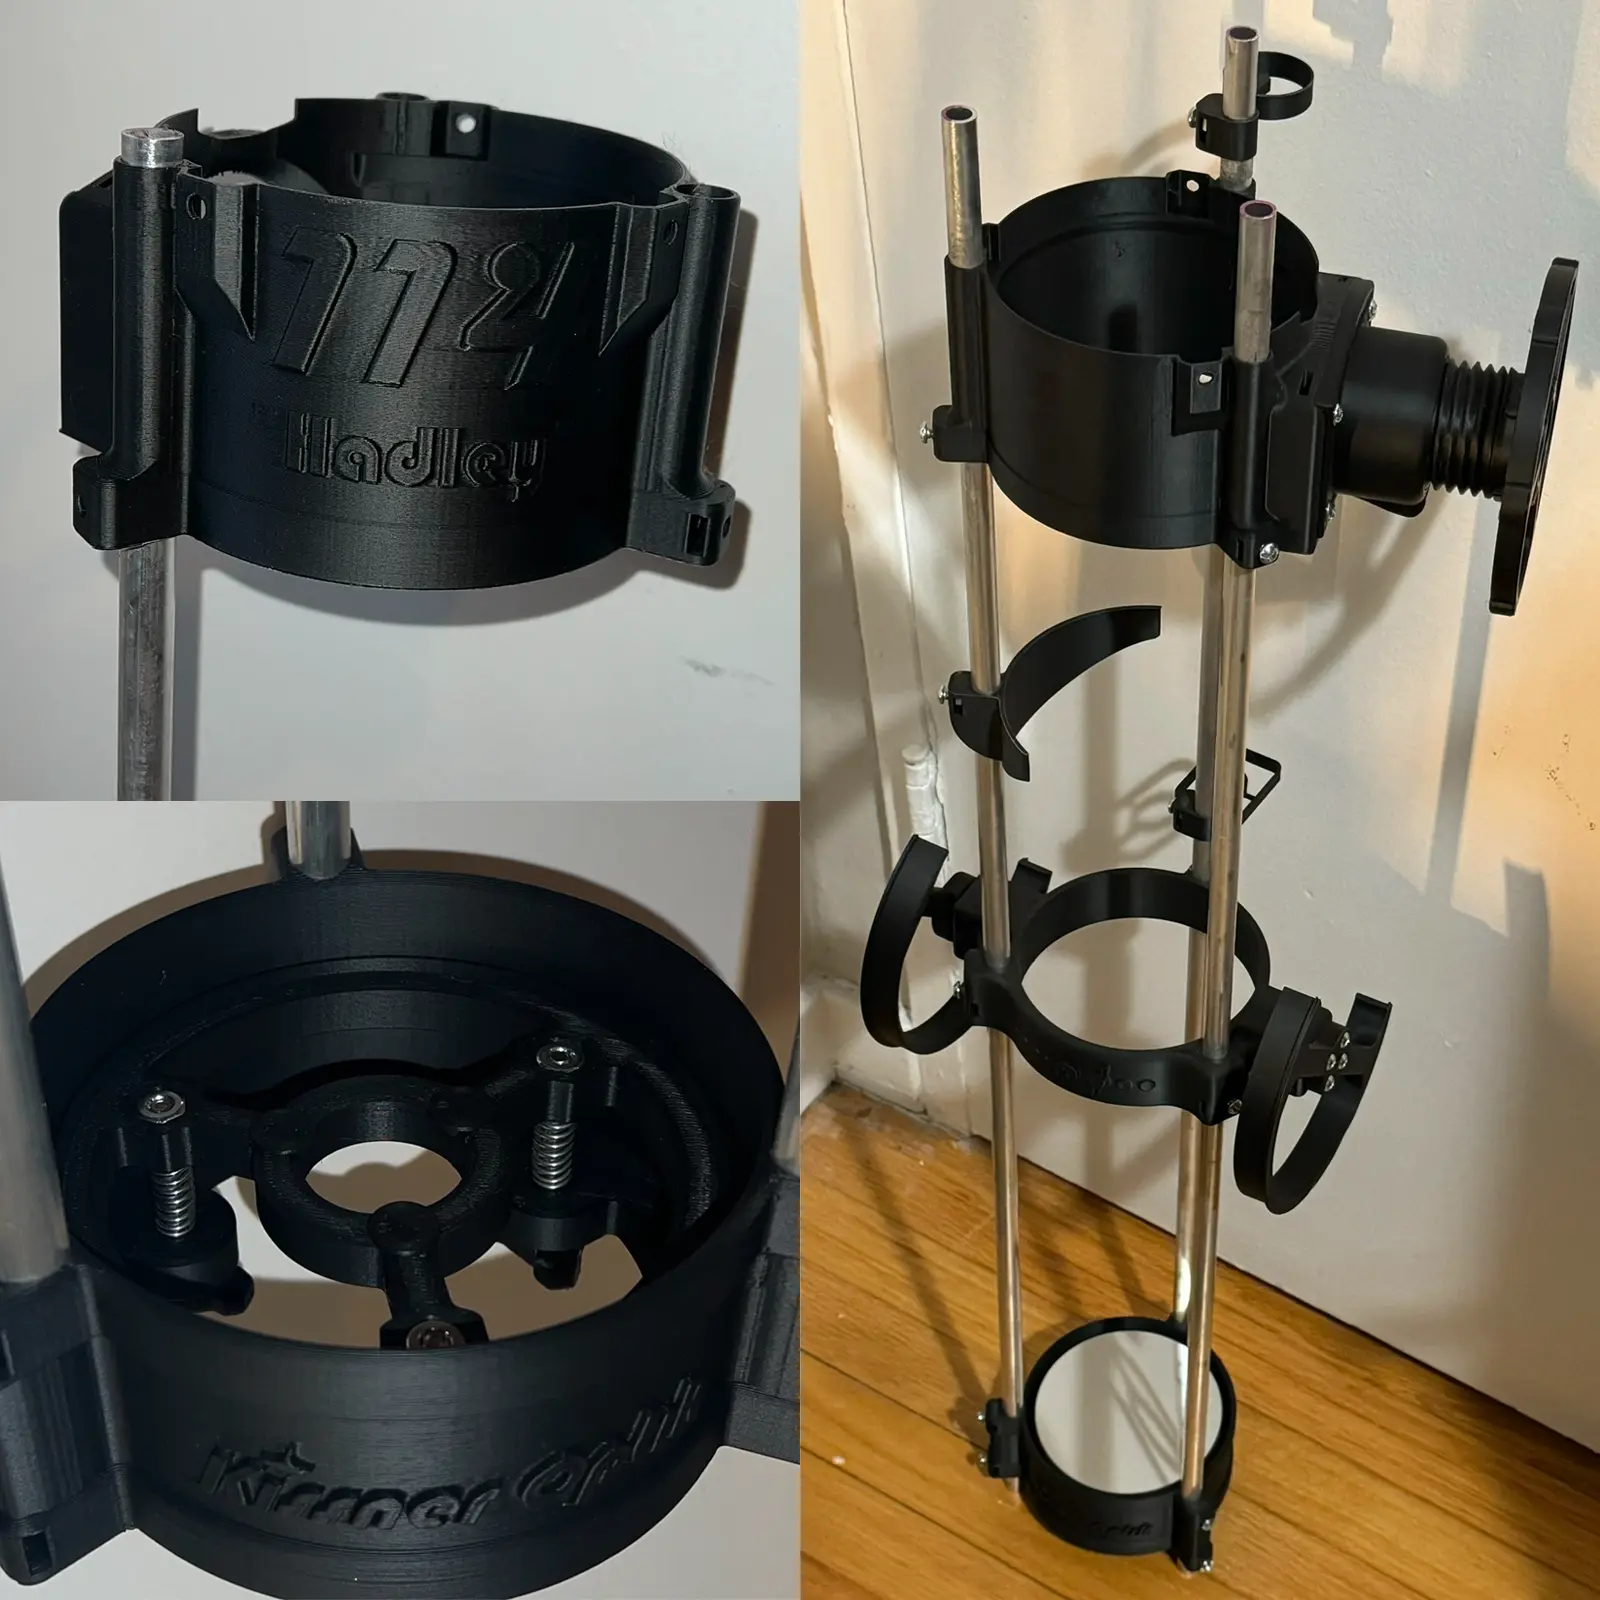
Three metal rods, along with various sizes washers, nuts, and screws, are needed for the project. I picked up almost everything I needed from Lowe's. The mirrors had to be ordered from Amazon. Once all the parts were printed, I was finally ready to assemble.
Collimation
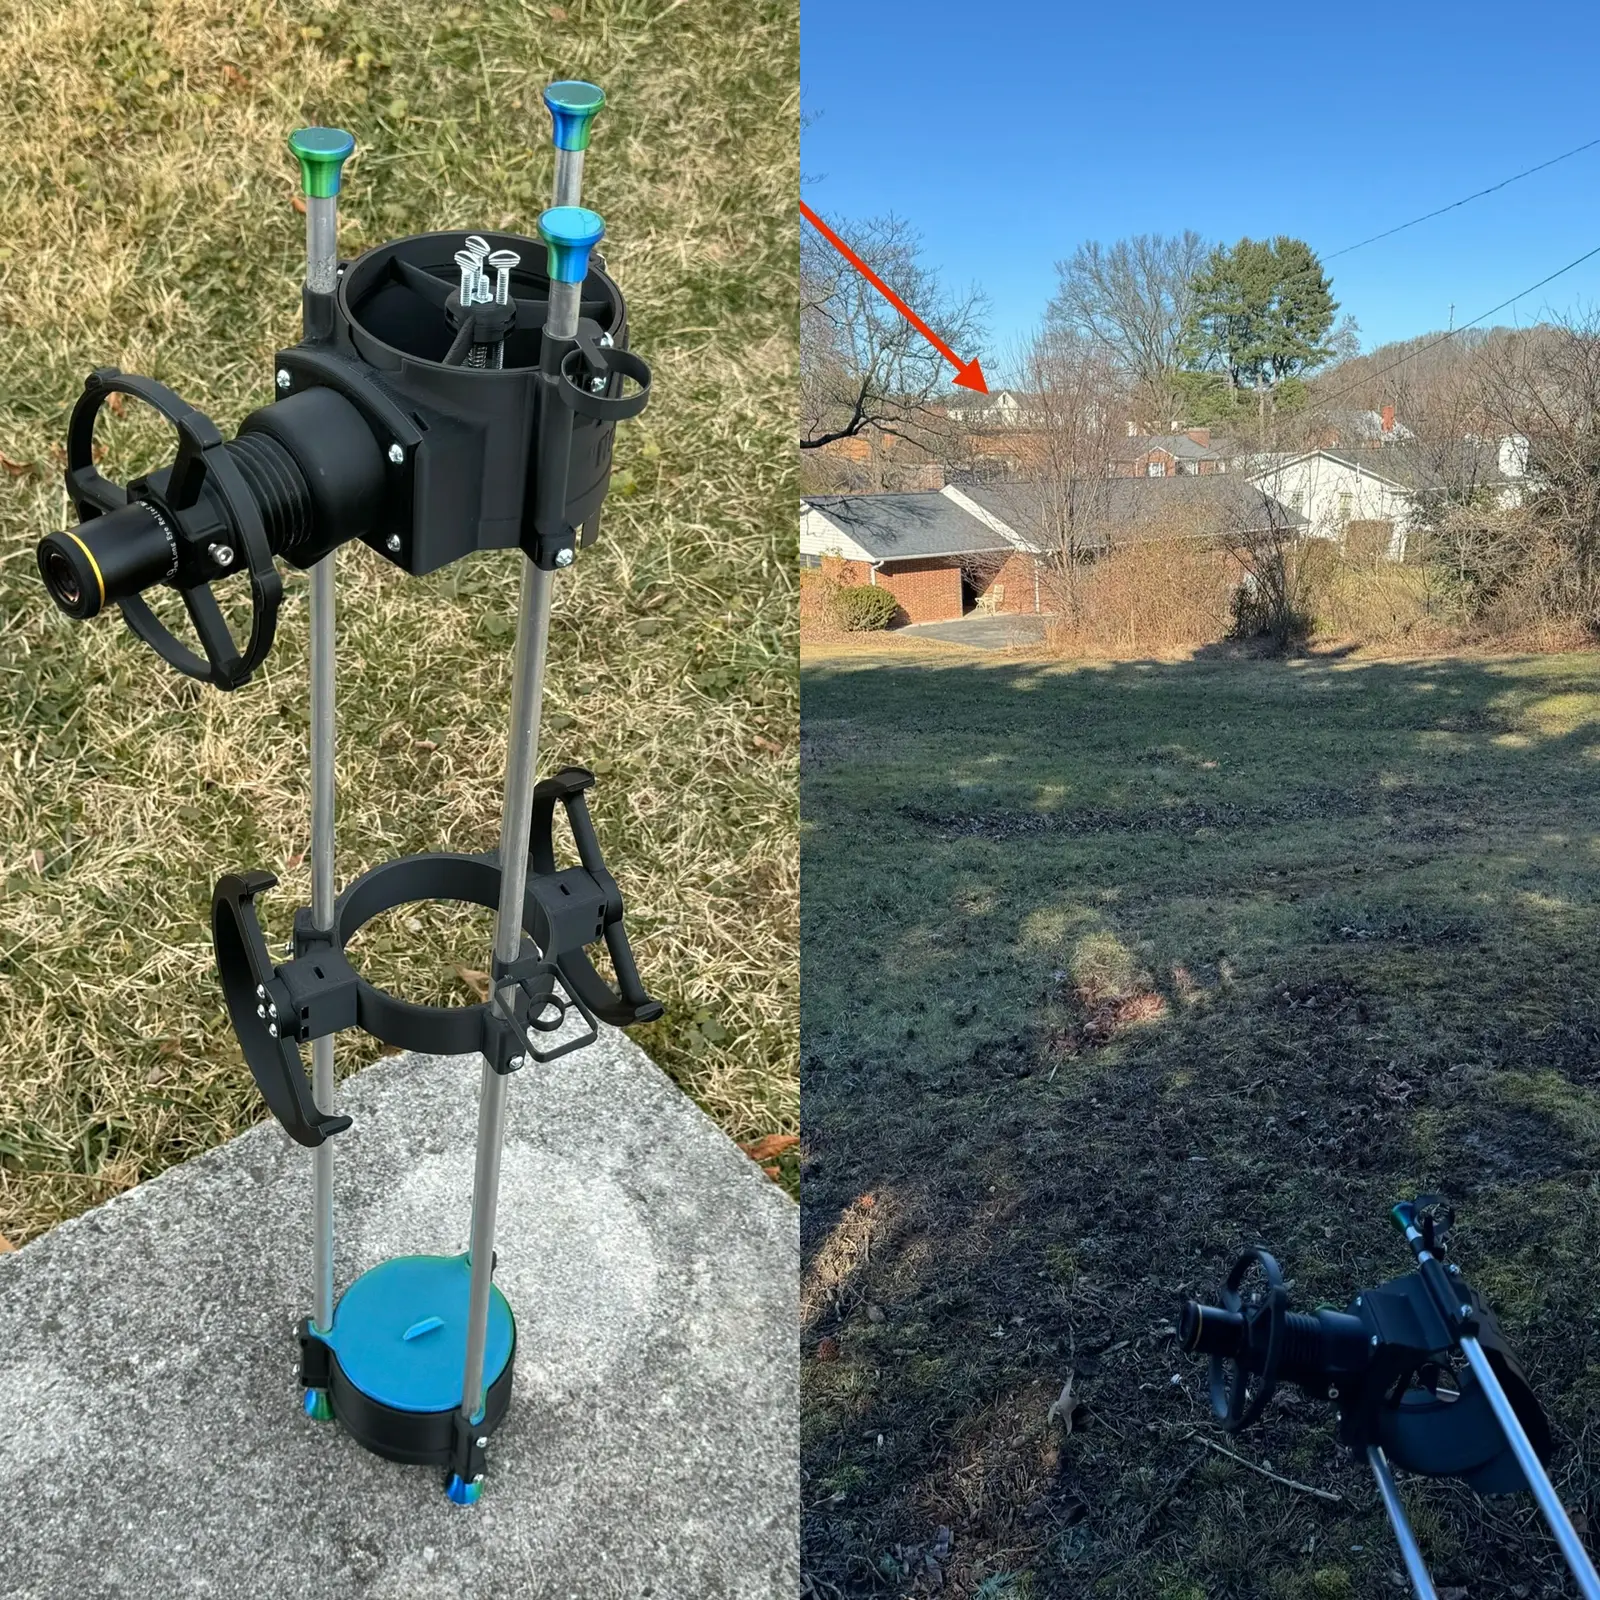
Collimation, a fancy word for calibration of a telescope, is the next step after assembly. This involves taking the telescope out during the day, pointing it at a distant object, and adjusting the length of the assemblies until you reach a sweet spot.
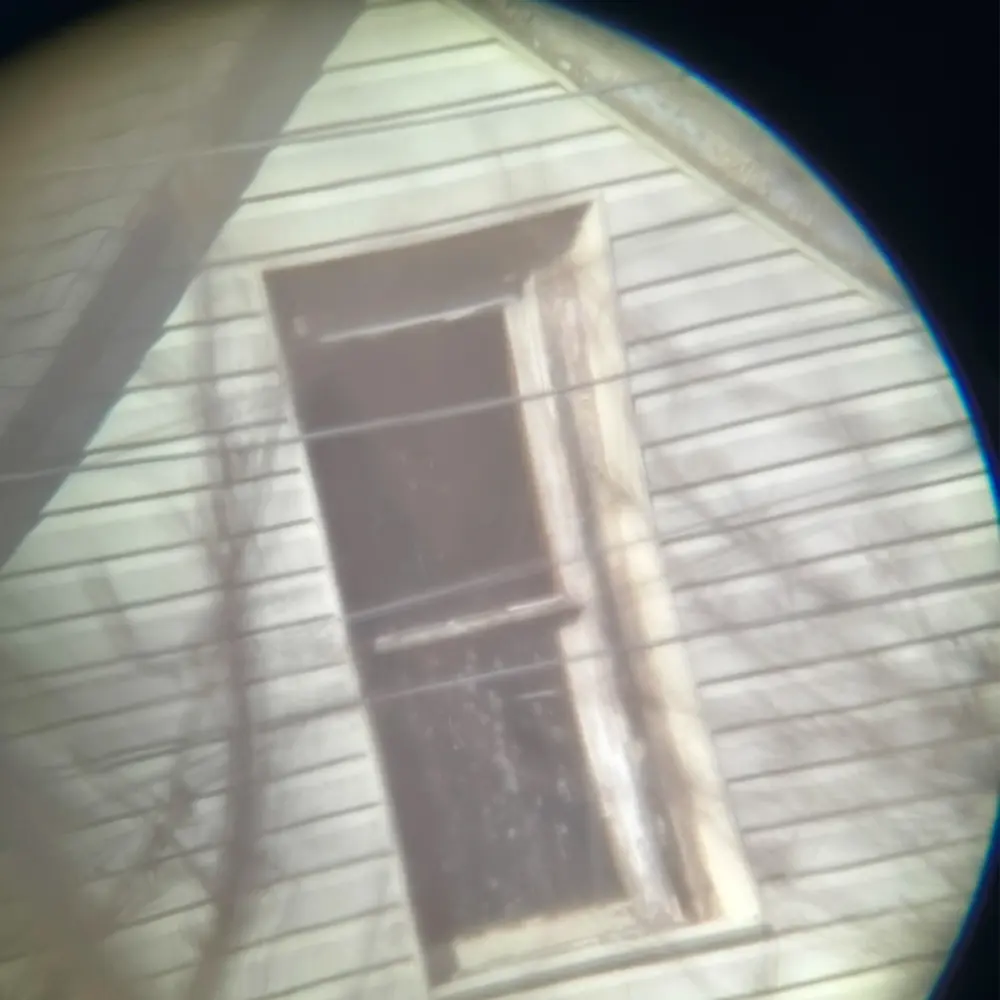
At this point, I was getting excited. The telescope was working, a telescope I had built with a spool of plastic and some nuts and bolts from the Lowe's. I couldn't wait to point it at the moon, but there was one problem: The telescope was too shaky to hold with my hands to observe anything in the sky. So, I had to build some kind of base for it. I had a lot of scrap plywood which I decided would work great for this.
Swivel Base
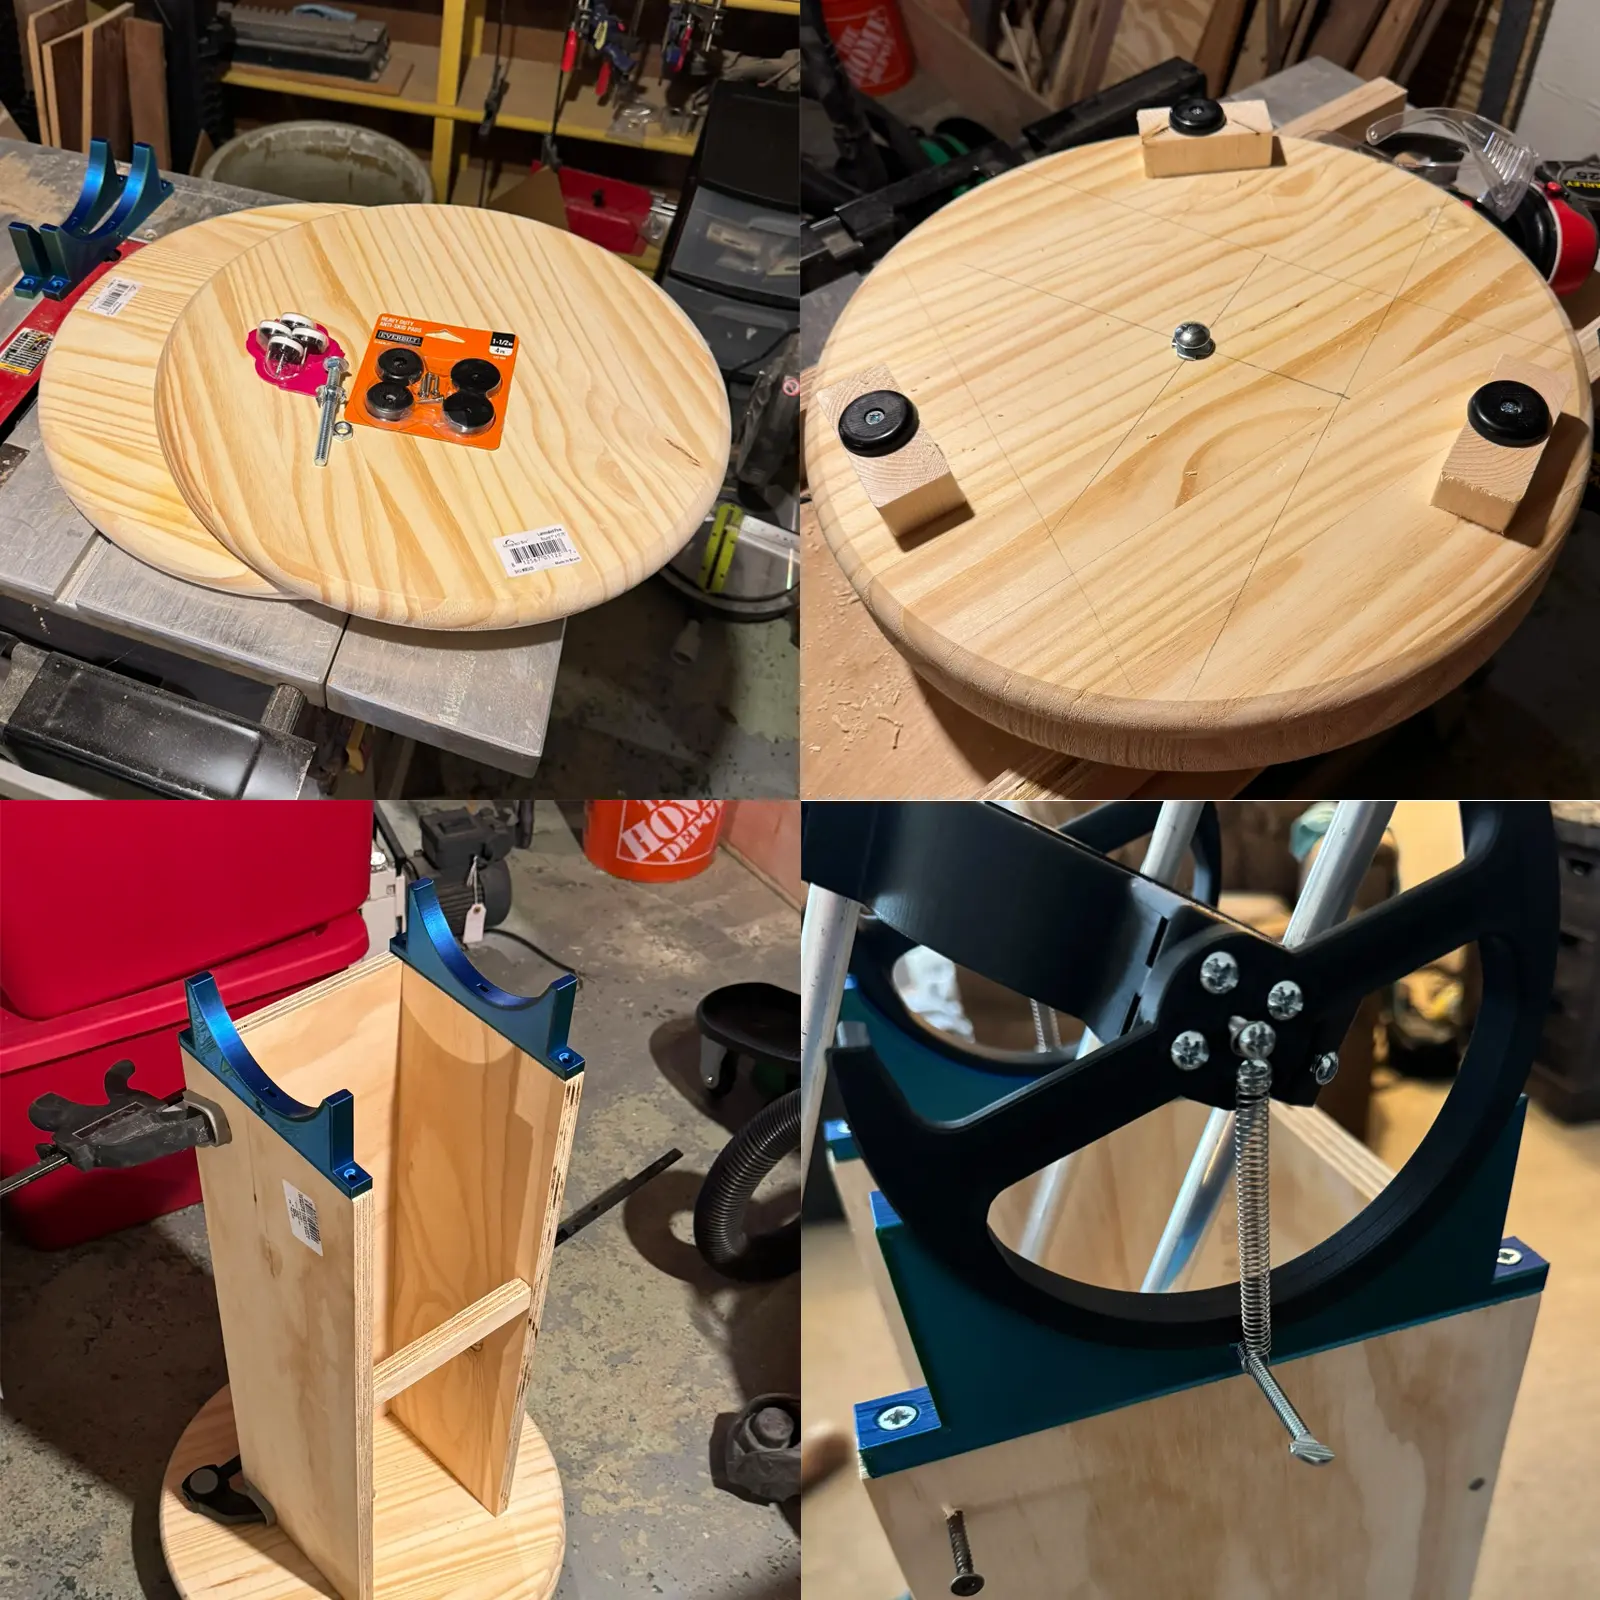
I kept the base pretty simple. Two discs of wood on top of each other, with a screw in the center to allow them to swivel. To reduce friction between the discs, I added a few plastic furniture sliders. For stability, I chose three feet, as tripods are inherently more stable on uneven terrain. I also printed some rocker panels I found online that match the rockers of the telescope perfectly. Lastly, I added springs to help stabalize the scope's position, making it easier to keep steady while observing.
Results
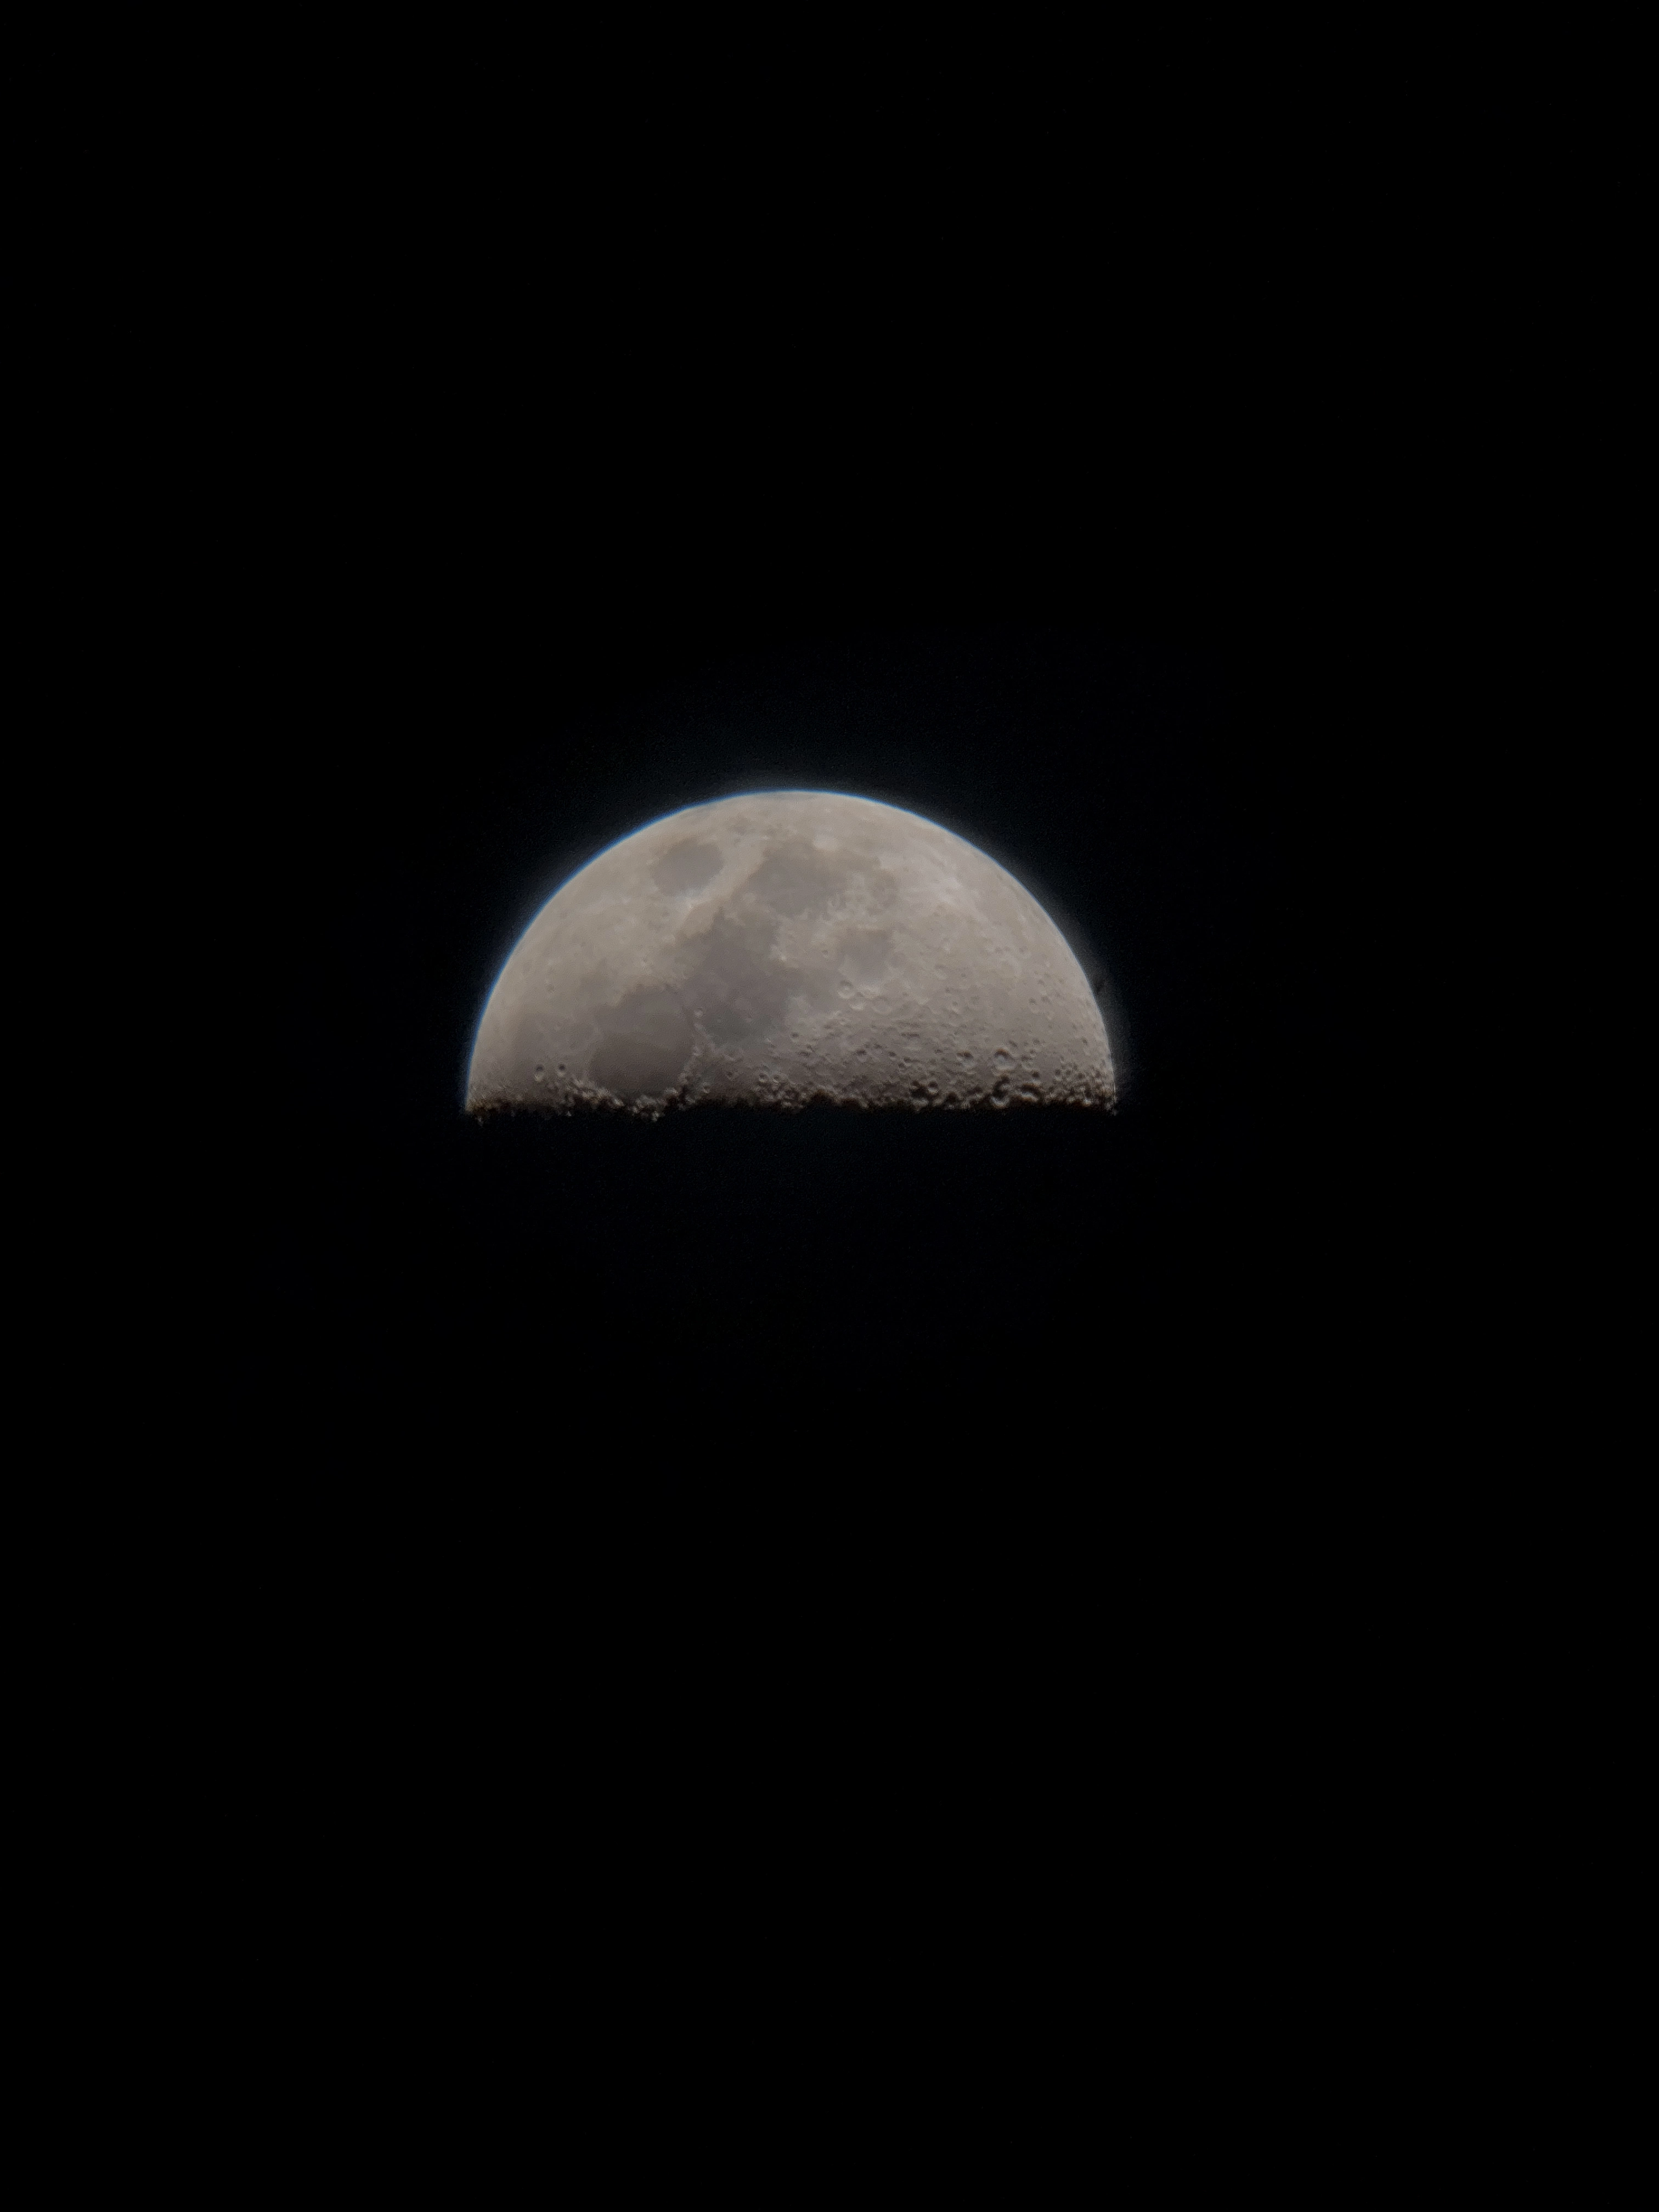
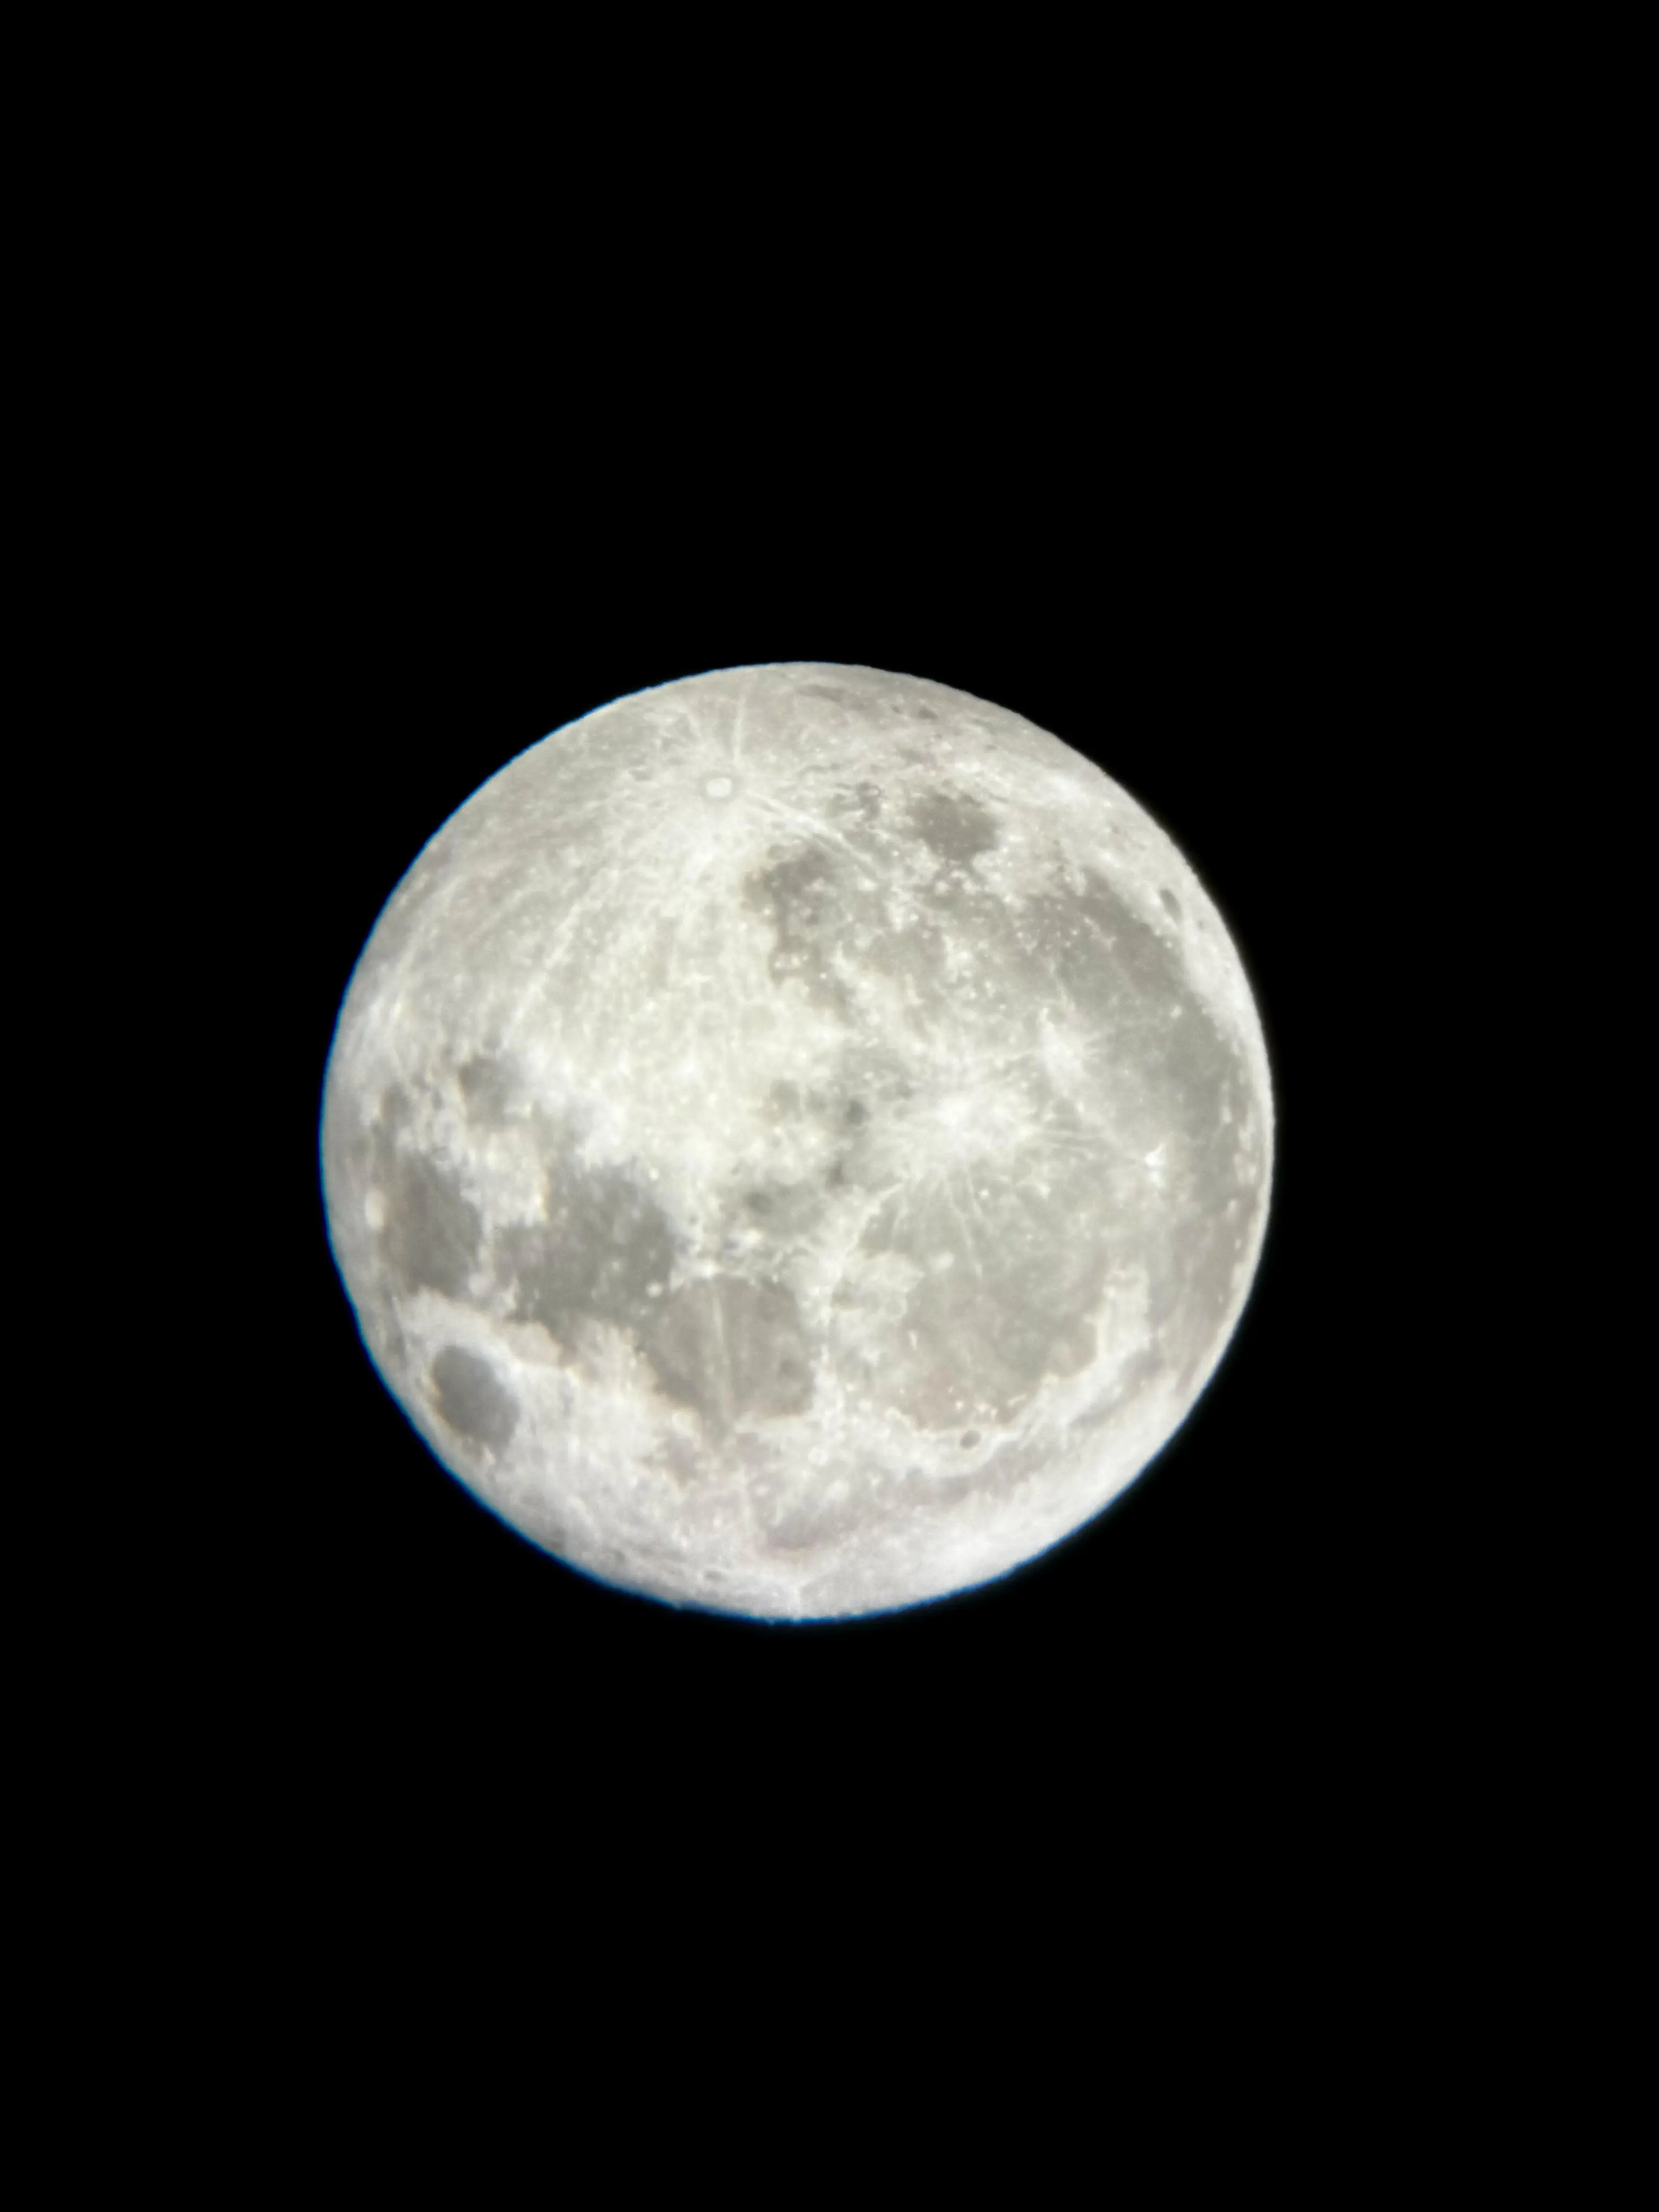
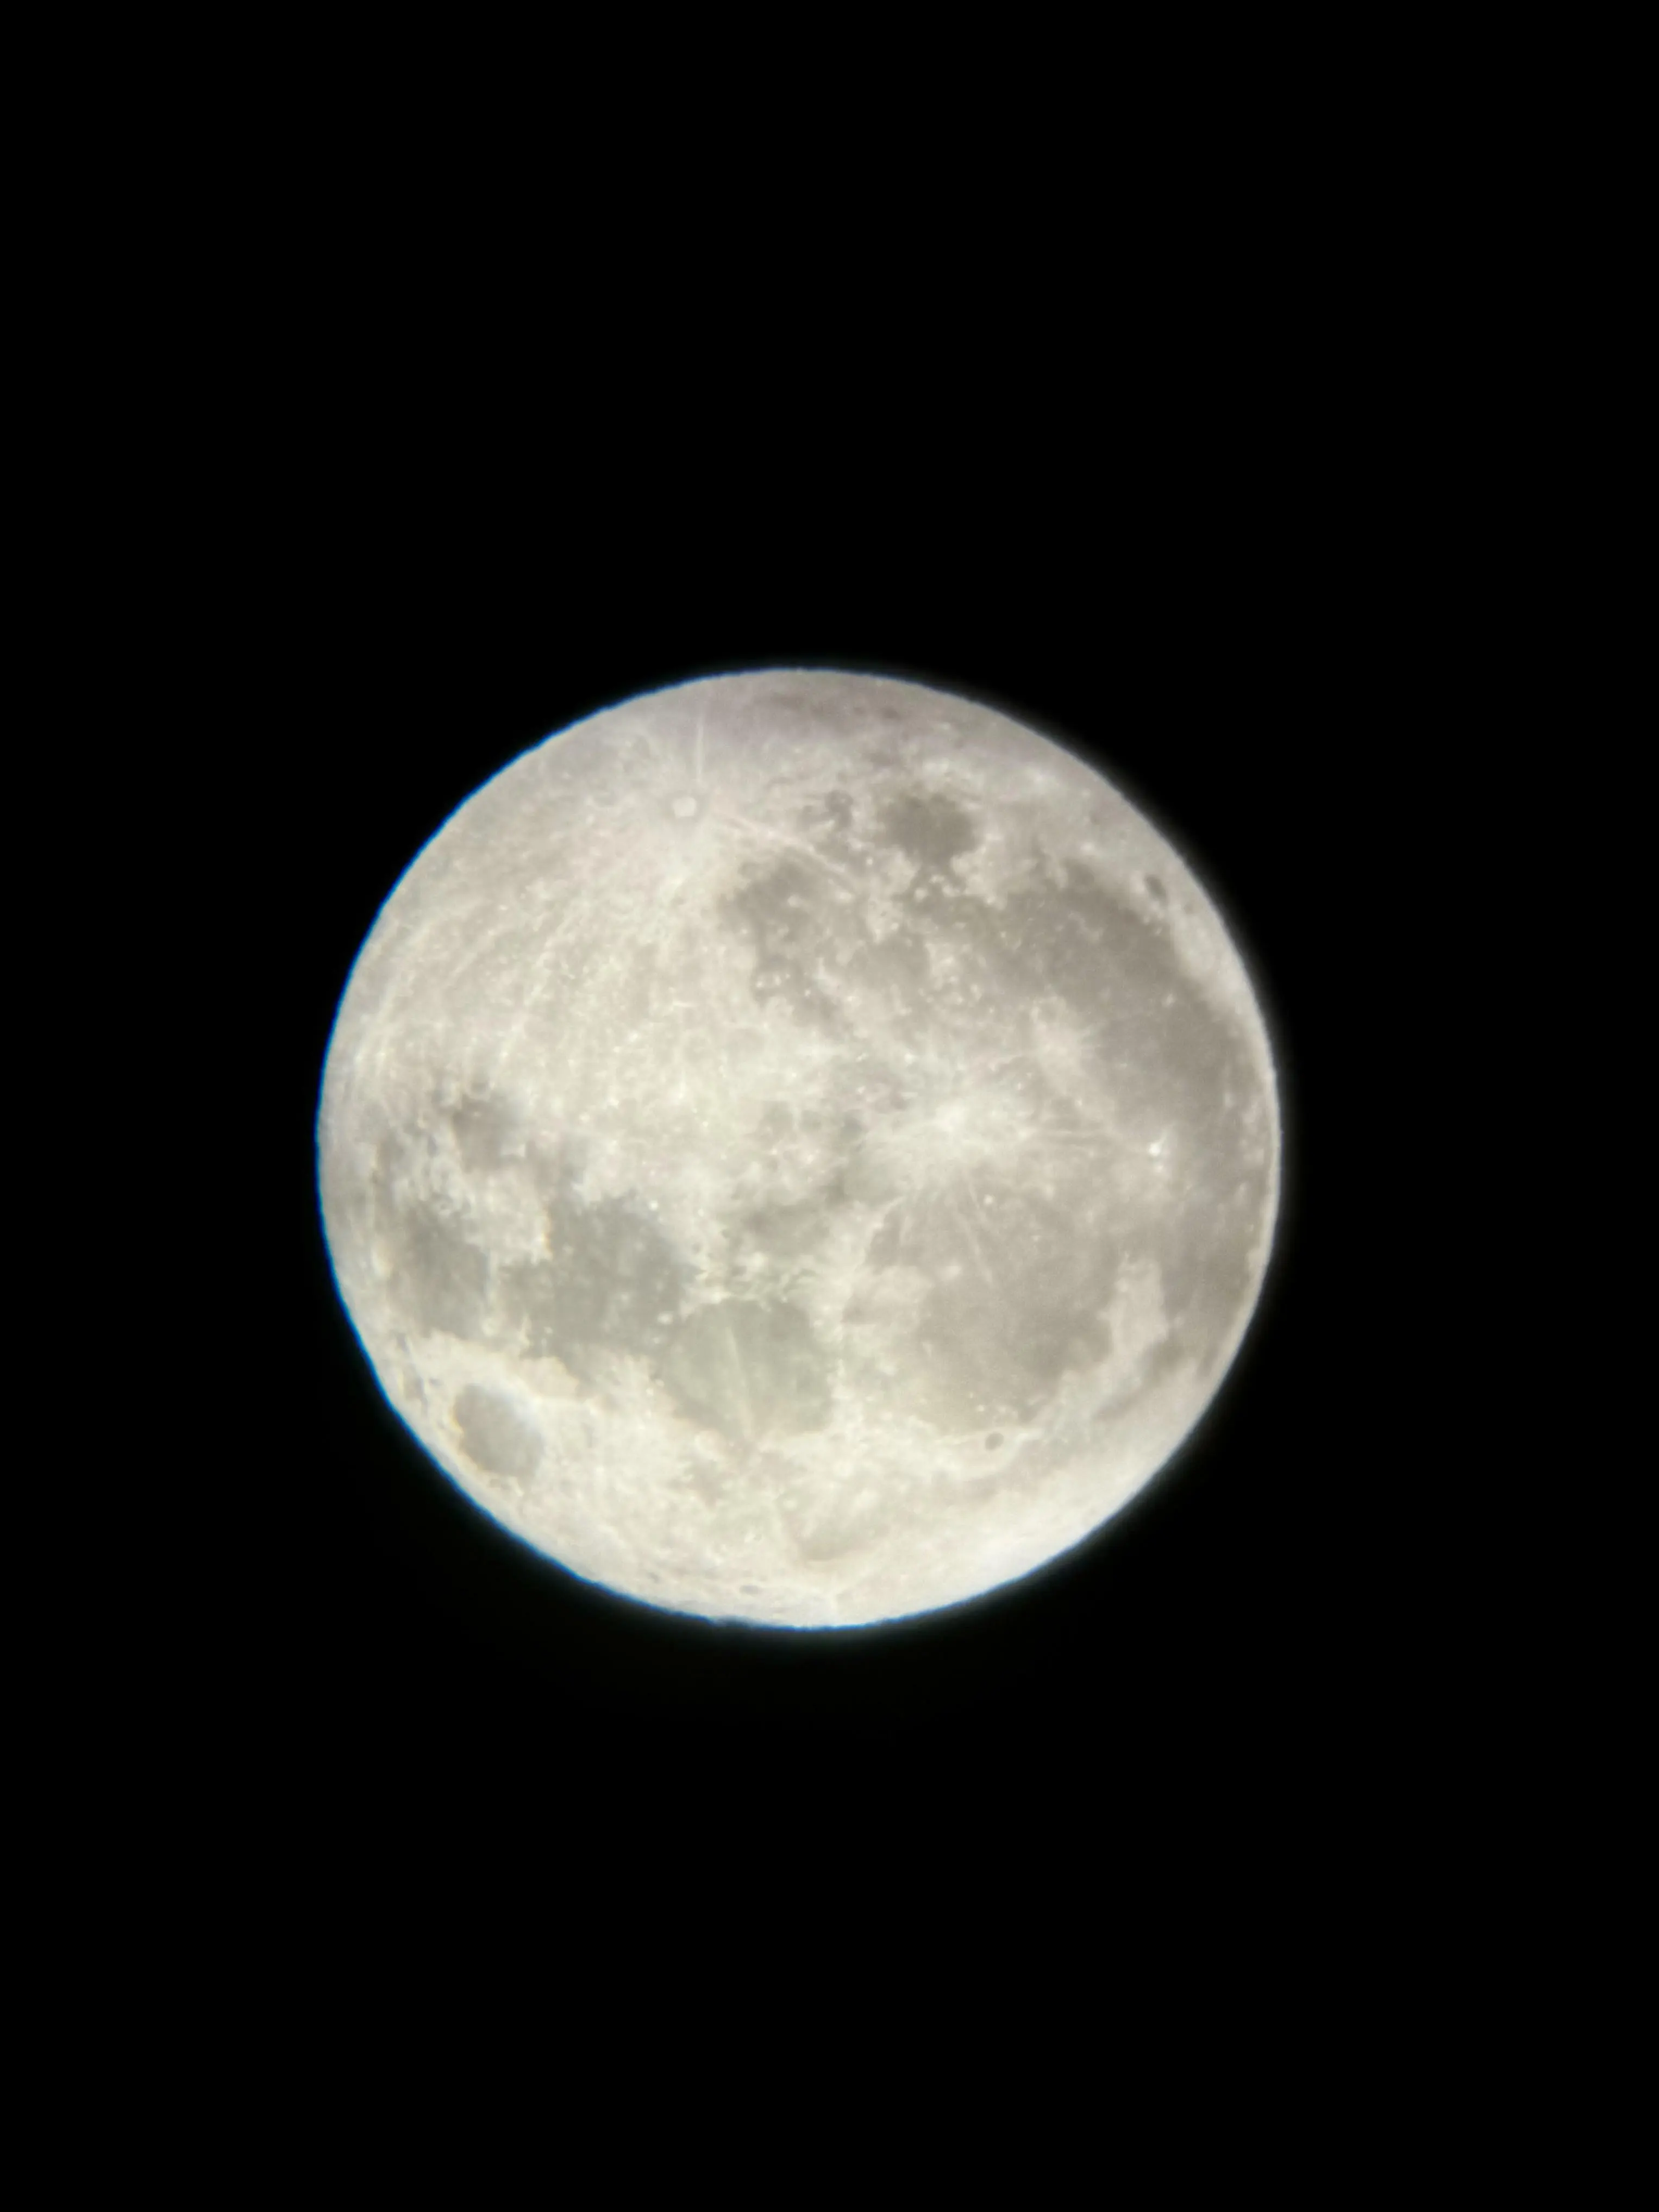
Everything was finally ready. And, lucky me, I had two weeks of rain and cloudy skies right after I finished the telescope. Once the weather finally cleared, I took the telescope out for its first test and aimed it at the moon. Here are some photos of the completed telescope and a few shots of the moon I’ve captured with it since then:
